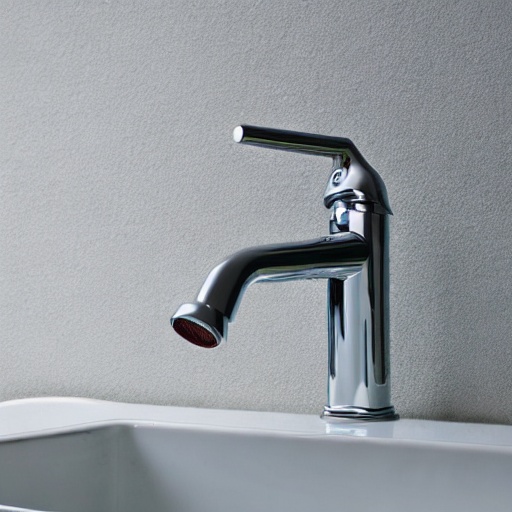
Fixing a leaky faucet is a quick and easy home repair that can save you money on your water bill. In this article, we will go through the steps required to fix a leaky faucet, as well as the tools and materials you will need.
Turn off the Water Before you start any repairs, make sure to turn off the water supply to the faucet. You can do this by turning the shutoff valves located underneath the sink.
Tools and Materials
- Adjustable wrench
- Replacement O-rings and washers (found at your local hardware store and are specific to the type of faucet you have)
- Plumber’s grease
- Teflon tape
- Remove the Handle
Using an adjustable wrench, remove the handle of the faucet by loosening the set screw on the handle. Once the set screw is removed, the handle should come off easily. - Remove the Stem
Once the handle is removed, you will see a stem that is connected to the faucet. Carefully remove this stem by turning it counterclockwise. Be sure to remember which way the stem was facing so that you can put it back in the correct position later. - Replace the O-ring and Washer
The stem of the faucet should have an O-ring and washer on it. These are the parts that are most likely causing the leak. Use plumber’s grease to lubricate the new O-ring and washer before installing them. - Reassemble the faucet
once you have replaced the O-ring and washer, you can reassemble the faucet. Make sure to use Teflon tape on the stem’s threads before reassembling it. Put the stem back in the faucet and turn it clockwise to tighten it. Replace the handle and secure it with the set screw. - Turn the Water Back On
Once the faucet is reassembled, turn the water supply back on. Test the faucet to make sure it is no longer leaking.
By following these steps, you should be able to fix a leaky faucet in about an hour. Remember, if you’re not comfortable with the task, consider hiring a professional plumber to do it for you.


