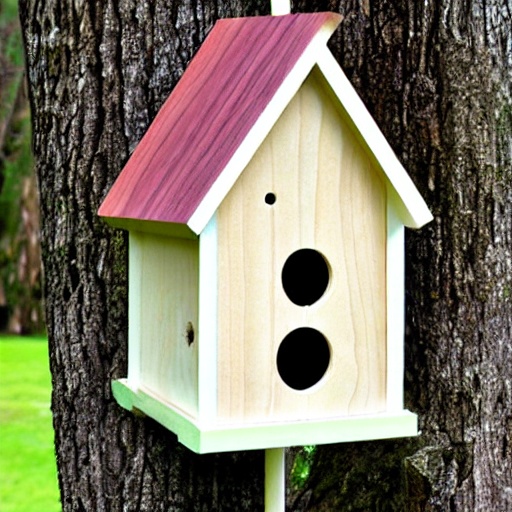
Building a basic wood birdhouse is a fun and easy project that can be completed in just one hour. Not only will it provide a cozy home for feathered friends, but it also adds a touch of charm to your backyard. Here’s a step-by-step guide on how to build a basic birdhouse using materials that can easily be found at your local hardware store.
Materials needed:
- One 1x6x6 inch untreated cedar board
- A handsaw or a circular saw
- A drill with a 1/2-inch spade bit
- A hammer and nails
- Exterior wood screws
- A paintbrush and exterior paint (optional)
Step 1: Cut your cedar board into the following pieces: two 6×6 inch pieces for the front and back, two 6×4.5 inch pieces for the sides, and one 6×6 inch piece for the roof.
Step 2: Using the 1/2-inch spade bit, drill a 1.5-inch diameter hole 4 inches from the top of the front piece. This will serve as the entrance for the birds.
Step 3: Assemble the birdhouse by attaching the front and back pieces to the sides with nails or wood screws. Make sure to pre-drill the holes to avoid splitting the wood.
Step 4: Attach the roof to the top of the birdhouse by nailing or screwing it in place.
Step 5: Optional: Paint the birdhouse with exterior paint to protect it from the elements. Be sure to use paint that is safe for wildlife and the environment.
Step 6: Hang the birdhouse in a tree or on a post in your backyard, making sure it is at least six feet off the ground and facing away from the sun.
Building a birdhouse is a great project for both adults and children, and it can be a fun way to spend an hour outdoors. And remember to clean the birdhouse annually to maintain a safe and healthy environment for the birds that call it home.
It is important to note that each state and country has different regulations regarding the construction of birdhouses. Before starting your project, check the regulations in your area to make sure you are building a birdhouse that is safe and legal for the birds.


