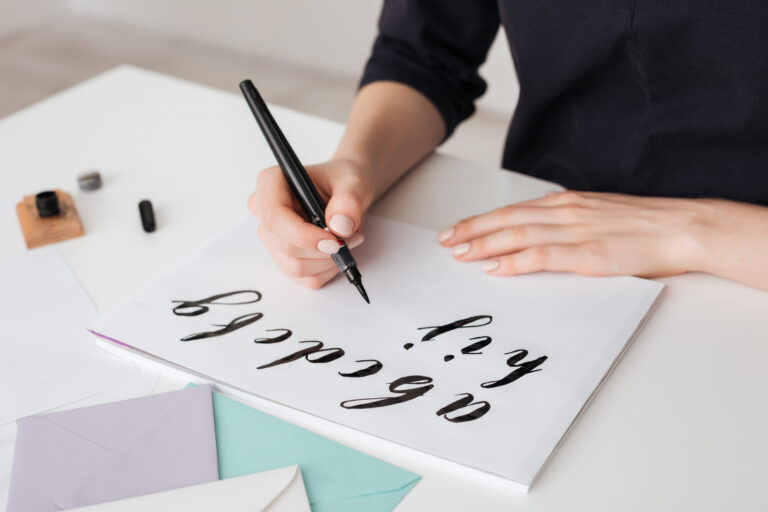
Calligraphy is the art of beautiful handwriting. Here are the basic steps to get started with calligraphy:
- Choose the right tools. You’ll need a calligraphy pen or nib, ink, and paper. There are many different types of calligraphy pens and nibs available, so you can choose the one that feels most comfortable for you.
- Practice basic strokes. Calligraphy involves making thin lines (called hairlines) and thick lines (called strokes). To make a thin line, apply light pressure to the pen or nib as you write. To make a thick line, apply more pressure. Practice making basic strokes to get a feel for how the pen or nib responds to different pressures.
- Learn the basic letterforms. Calligraphy alphabets are made up of a series of basic strokes and shapes. Practice writing each letter, starting with the capital letters and then moving on to the lowercase letters. As you write, pay attention to the proportion and spacing of the letters.
- Practice connecting letters. Once you’ve mastered the basic letterforms, practice connecting the letters to form words and sentences. Use a straight edge or a calligraphy grid to help you keep your letters evenly spaced and aligned.
- Experiment with different styles. There are many different styles of calligraphy, from traditional to modern. As you practice, try out different styles to find the one that suits you best.


