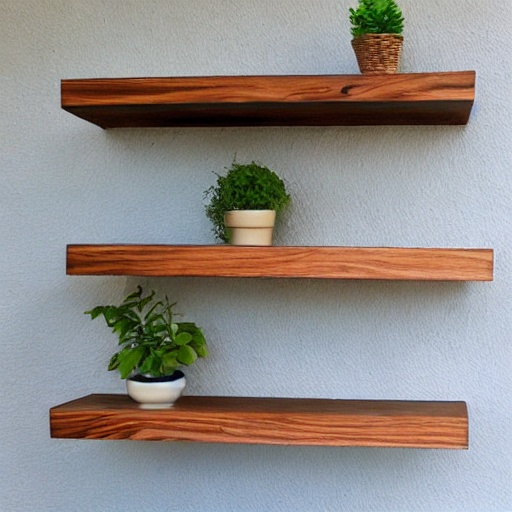
Building a simple wood shelf with an edge board trim can be a great way to add storage and organization to any room while giving it a finished and polished look. In this article, we will go through the steps required to build a simple wood shelf with an edge board trim, as well as the tools and materials you will need.
You should be able to build a simple wood shelf with an edge board trim in about an hour.
Note: The tools and materials required may vary slightly depending on the type of shelf bracket you choose, or the size of the shelf you want to build.
Gather Tools and Materials
- 1×12 inch board (length depends on desired shelf size)
- Table saw or circular saw
- Drill
- Screws
- Screwdriver or drill with screwdriver attachment
- Measuring tape
- Pencil
- Level
- 1×2 inch board (length depends on desired shelf size)
- Measure and Cut the Boards
Using a measuring tape and pencil, mark the desired length of the shelf on the 1×12 inch board. Use a table saw or circular saw to cut the board to the desired length. Cut a 1×2 inch board to the same length as the 1×12 inch board. - Sand the Edges
Use a belt sander or sandpaper to smooth the edges of the board and 1×2 inch board. This will ensure that the shelf is safe to use and has a finished look. - Install the Brackets
- Choose the location
where you want to install the shelf, then measure and mark the positions of the brackets on the wall. Use a drill to make pilot holes for the brackets, then attach the brackets to the wall using screws. - Attach the Edge Board Trim
Place the 1×2 inch board on the non wall edges of the 1×12 inch board. The 1×2 inch board will be the edge board trim. Using a drill or screwdriver, attach the trim to the 1×12 inch board using screws. - Attach the Shelf to the Brackets
Place the shelf on top of the brackets, making sure it is level. Using a drill or screwdriver, attach the shelf to the brackets using screws. - Enjoy your new shelf with a polished edge board trim!


